As a massive lover of necklaces, I need somewhere to keep them all nice and tidy. There is nothing worse than having them chucked in a box altogether and the chains all getting tangled. I used to have a cork board which I put all my necklaces on but it started to get a bit messy so I thought I would try something else. After looking for some ideas on pinterest, I came across a DIY jewellery hanger and thought I would try making one of my own. It is so quick and simple to make!
What you need to make a jewellery hanger
- A wooden hanger
- Picture hooks
- A pencil
- A ruler
- Some pretty tape/ paint
How to make a jewellery hanger
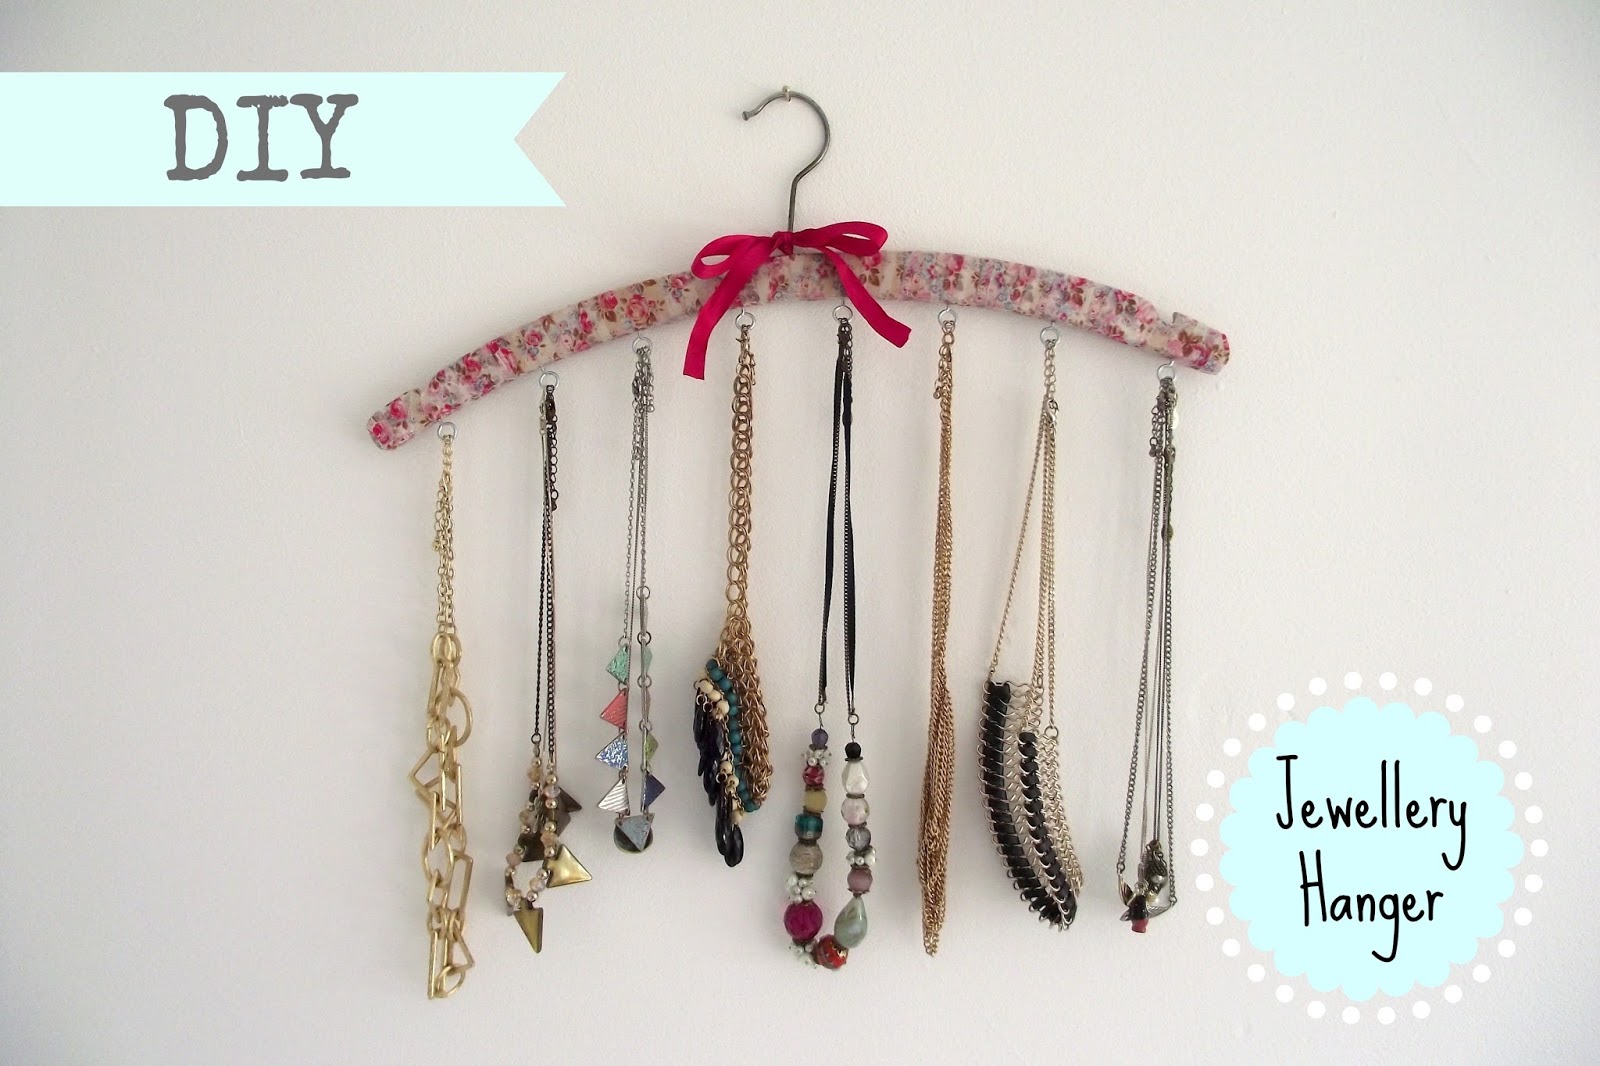
Firstly, you need to decorate your hanger. I had some pretty Cath Kidston tape lying around so I thought I would just wrap that around the hanger to make it all florally. If you don’t have any tape, you can paint your hanger.
Once it is decorated, start to mark out where you want each of the hooks using your pencil and tape measure. I put mine about 2 inches apart from one another.
Next is the hardest part. You have to twist in each of your picture hooks to the hole you have marked. You might find it a bit easier to start the holes off by using a pointed tool. So go and raid your dads toolbox if you can! If you don’t have anything pointed then not to worry. You can still twist in the picture hooks but it just might take a little longer.
Once the hooks are in, you are ready to add your necklaces! Make sure you even the weights of them out otherwise you will end up with a lopsided hanger.
I hoped you liked this DIY tutorial! I plan on doing many more in the future. I am getting loads of ideas from Pinterest and have a whole board filled with them if you fancy a look.
What do you use to display your jewellery?